Windows 10 now comes with container features available to pro and enterprise versions. To get started with containers on Windows 10, please make sure the below prerequisites are met.
Pre-requisites
Let’s ensure we have prerequisites installed before we get started with docker cli and container installation. If you already have the below items installed, you can skip them and proceed with the setup.
- Windows 10 Professional or Enterprise with Anniversary Update (version 1607) or later.
- How to setup Hyper-V
- How to setup choco package management on windows 10
- How to install docker for windows 10
Windows 10 now comes with container feature available for developers and devops engineers to start using Docker containers in their local environment. To enable containers for Windows 10, execute the below command.
Enable-WindowsOptionalFeature -FeatureName containers -Online -allNOTE: Upon installation, you will be prompted to reboot your system after the container feature is enabled. It is recommended that you select yes to reboot your system.
Install Docker CLI
Now we will go ahead and download latest docker cli by using the Chocolate package management tool.
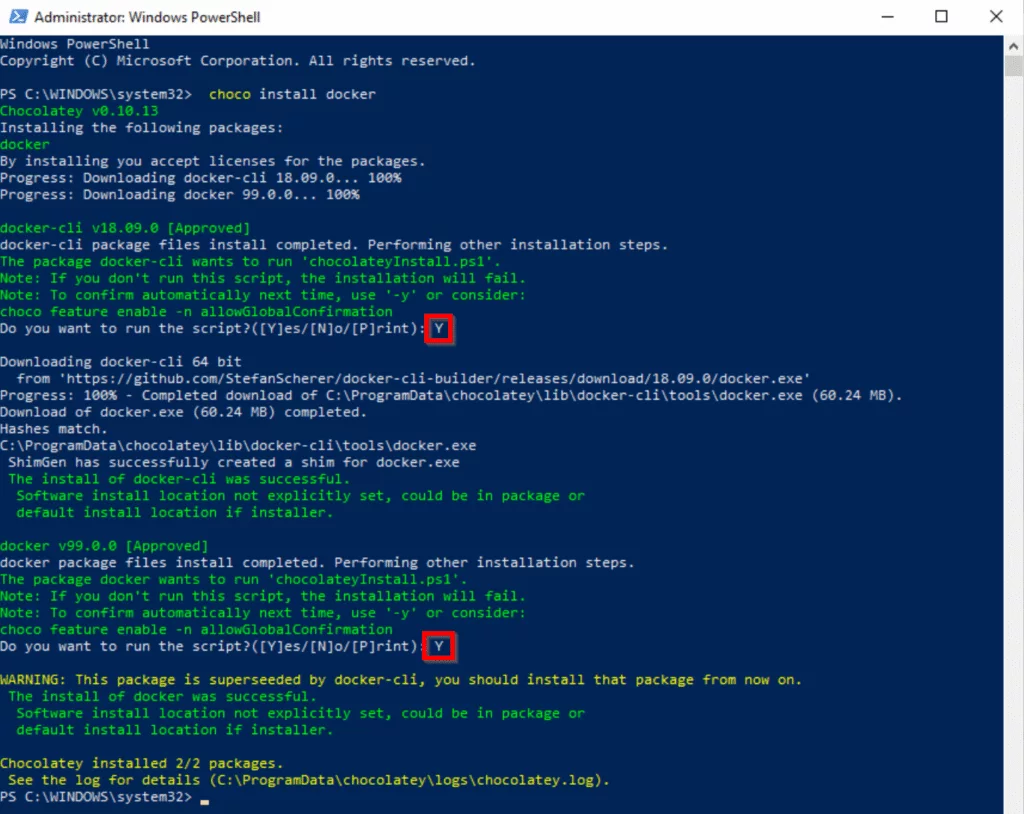
Once you have choco installed, go ahead and open PowerShell as an administrator and execute the below command.
choco install dockerYou will be asked to say yes or no. Go ahead and continue with the interactive installation process by pressing Y. The output should look like below if the installation was successful.
Now that you have docker cli installed, you are now ready to run your first Docker container.
Installing Docker Enterprise Edition (EE)
To install Docker EE on Windows 10, please make sure above setup is successfully completed. To get started, go ahead and execute the below commands from an elevated PowerShell console.
To go to the Downloads’ folder of your current user.
cd ~\DownloadsDownload Docker Enterprise Edition from online
Invoke-WebRequest -UseBasicParsing -OutFile docker-18.09.3.zip https://download.docker.com/components/engine/windows-server/18.09/docker-18.09.3.zipNOTE: In this tutorial I am using Docker 18.09.3 version. This may change in the future. You can follow the updated document from here.
Unzip the Docker package.
Expand-Archive docker-18.09.3.zip -DestinationPath $Env:ProgramFiles -ForceExecute the below script to set up and start Docker.
# Add Docker to the path for the current session.
$env:path += ";$env:ProgramFiles\docker"

# Optionally, modify PATH to persist across sessions.
$newPath = "$env:ProgramFiles\docker;" +
[Environment]::GetEnvironmentVariable("PATH",
[EnvironmentVariableTarget]::Machine)

[Environment]::SetEnvironmentVariable("PATH", $newPath,
[EnvironmentVariableTarget]::Machine)

# Register the Docker daemon as a service.
dockerd --register-service

# Start the Docker service.
Start-Service docker
Test your Docker setup by executing the below command.
docker container run hello-world:nanoserverRunning your first Docker container
In this example, I will be using nanoserver image from Docker hub to run an IIS application.
Step 1: Let’s first check if we have any Docker images pulled from Docker hub. Based on the above setup for Docker, you should have a hello-world Docker image pulled from Docker hub.
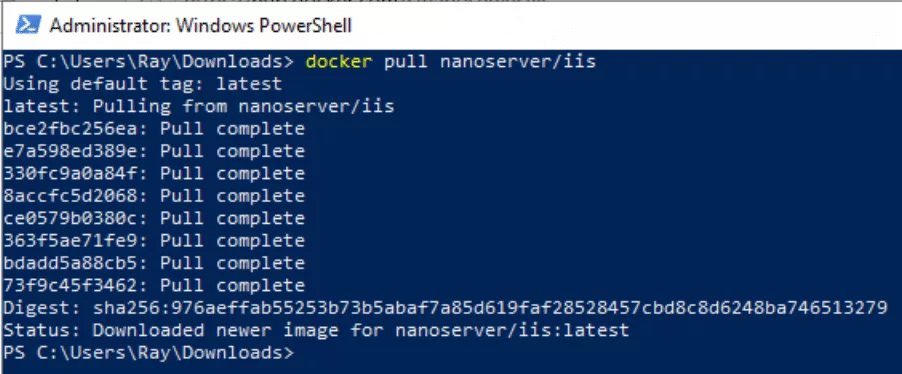
docker imagesStep 2: Let’s pull a new Docker image from Docker hub to run nanoserver with IIS configured.
docker pull nanoserver/iisYour final output should look like below.
Step 3: After we have pulled the latest image from Docker hub, let’s run our first windows container by executing the below command.
docker run --name nanoiis -d -it -p 80:80 nanoserver/iisAfter it will return a container ID that you can use to check container status, configuration, etc.
Step 4: Check our first container status by executing the below command.
docker ps -a -f status=runningStatus output:

Step 5: Now let’s get the IP address of our container to access it from the browser.
docker inspect -f "{{ .NetworkSettings.Networks.nat.IPAddress }}" nanoiisStep 6: Copy the IP address that was returned to the PowerShell console and browse it in Internet Explorer.
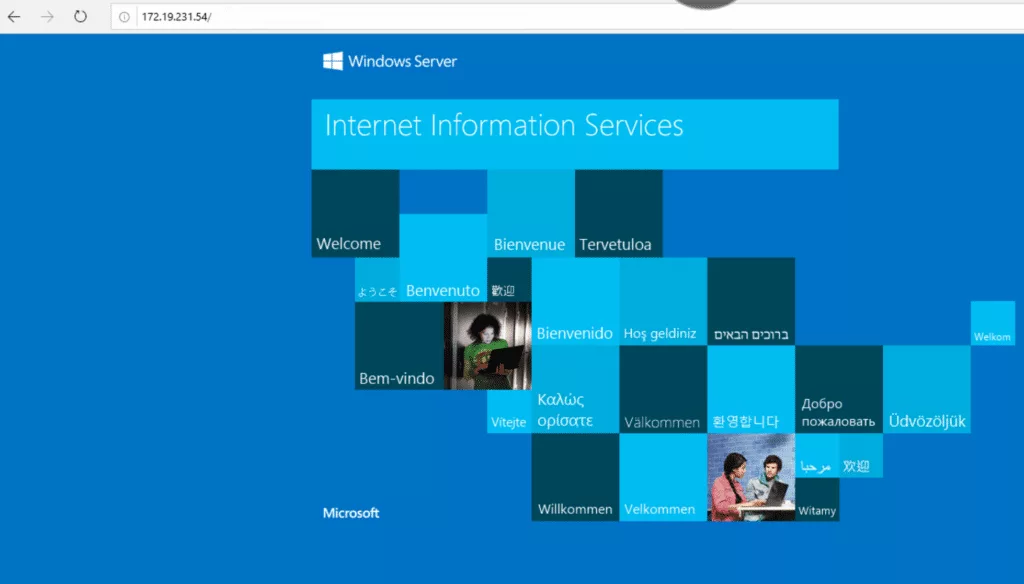
In my case, I received 172.19.231.54. Yours may be different.
This is it! You have run your first Windows container on your Windows 10 machine. Thank you for following this tutorial.