Managing Docker images is very important. Just as similar to managing application source code in a version controlled repository such as GIT. Docker also provides similar capabilities. Docker images can be managed locally on your development machine and also on remote container registry also known as Docker hub.
In this tutorial, I will demonstrate a set of commands on how to manage Docker images both locally and remotely.
Prerequisite
Managing images locally
1. List Docker Images
To view Docker images locally, you can type Docker images, and it will list all the images in the console. Execute the below command from an elevated PowerShell or command line tool to see the output.
docker imagesOutput
REPOSITORY                             TAG                 IMAGE ID            CREATED             SIZE
demo/webappcore                        2.2.0               9729270fe1ac        38 hours ago        401MB
<none>                                 <none>              2822fcdec81d        38 hours ago        403MB
<none>                                 <none>              807f7b4b42c1        38 hours ago        398MB
<none>                                 <none>              659fbabfde96        38 hours ago        398MB
<none>                                 <none>              ad0df2c81cf1        38 hours ago        397MB
<none>                                 <none>              97a33d1a133d        38 hours ago        395MB
mcr.microsoft.com/dotnet/core/aspnet   2.2                 36e5a01ef28f        3 days ago          395MB
hello-world                            nanoserver          7dddd19ddc59        2 months ago        333MB
nanoserver/iis                         latest              7eac2eab1a5c        9 months ago        1.29GB
NOTE: I am using Windows 10 to demonstrate Docker image management.
Next, we will limit the list and only print images by repository name. The command is Docker images [repository name].
docker images hello-worldOutput
REPOSITORY          TAG                 IMAGE ID            CREATED             SIZE
hello-world         nanoserver          7dddd19ddc59        2 months ago        333MB
You can also add an addition filter to the above command by providing tag. The command is docker images [repository name]:[tag].
docker images hello-world:nanaserver2. Deleting Docker images
Sometime you may want to just delete an image that you no longer need. By deleting the image, it will permanently delete an image from your local. The command is docker rmi [image name]:[tag].
NOTE: There are many ways to delete an image. You can also reference Docker official website.
docker rmi hello-world:nanoserverNOTE: If you see an error like this “
Error response from daemon: conflict: unable to remove repository reference "hello-world:nanoserver" (must force) - container 3db17e64fadb is using its referenced image 7dddd19ddc59“. It means there is a container running locally on your machine, and it has been referenced.
To remove it forcefully, you can apply -f at the end of the above command. It will stop the running container and delete the image.
docker rmi hello-world:nanoserver -fYou should see almost similar output shown below.
PS C:\> docker rmi hello-world:nanoserver -f
Untagged: hello-world:nanoserver
Untagged: hello-world@sha256:ea56d430e69850b80cd4969b2cbb891db83890c7bb79f29ae81f3d0b47a58dd9
Deleted: sha256:7dddd19ddc595d0cbdfb0ae0a61e1a4dcf8f35eb4801957a116ff460378850da
Now, let’s go ahead and execute docker images. You will see your image was successfully deleted.
PS C:\> docker images
REPOSITORY                             TAG                 IMAGE ID            CREATED             SIZE
demo/webappcore                        2.2.0               9729270fe1ac        38 hours ago        401MB
<none>                                 <none>              2822fcdec81d        38 hours ago        403MB
<none>                                 <none>              807f7b4b42c1        39 hours ago        398MB
<none>                                 <none>              659fbabfde96        39 hours ago        398MB
<none>                                 <none>              ad0df2c81cf1        39 hours ago        397MB
<none>                                 <none>              97a33d1a133d        39 hours ago        395MB
mcr.microsoft.com/dotnet/core/aspnet   2.2                 36e5a01ef28f        3 days ago          395MB
nanoserver/iis                         latest              7eac2eab1a5c        9 months ago        1.29GB
Managing Docker images on remote container registry
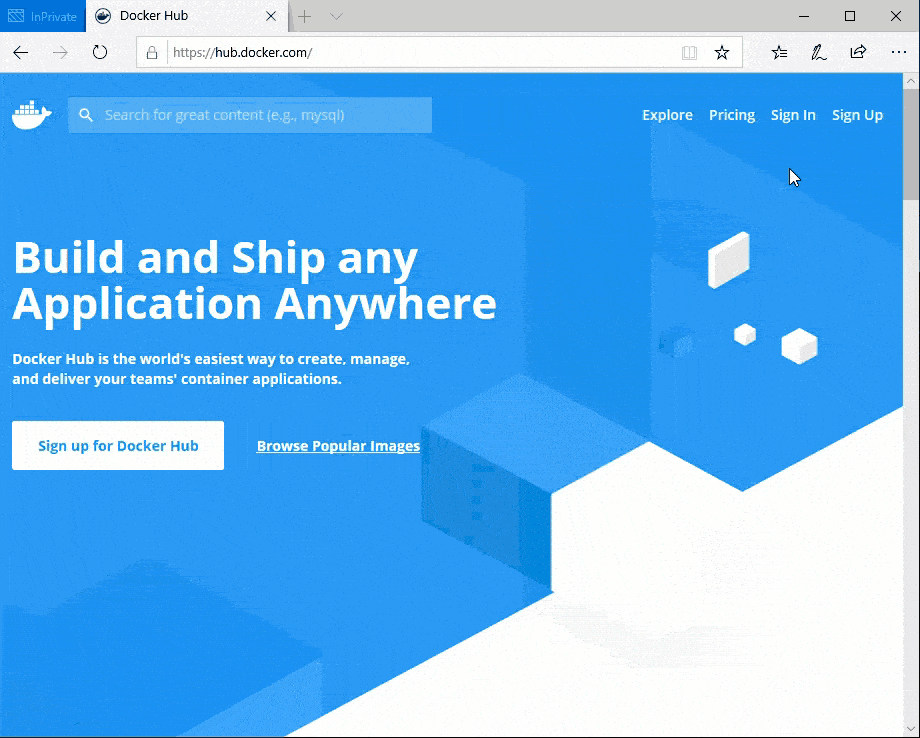
In this tutorial, we will use Docker hub, which gives you one free private repository and unlimited public repositories. In this tutorial, I will demonstrate how to use a private container registry that is only accessible to you or your organization.
Step 1: First, we need to register to get access to Docker hub. Once you have successfully registered and signed in. We are now ready to create our first private repository for Docker images.
Step 2: In the below example, I will show you how to push demo/webappcore image to remote repository. Execute the below command to push Docker image to Docker hub.
Login to Docker hub.
docker login --username tekspacedemoThen it will prompt you for password. Go ahead and type the password.
NOTE: Replace
tekspacedemowith your registered docker id.
Before we move on to push the local image to remote registory. We need to tag it to remote path so that we can push that to docker hub.
docker tag demo/webappcore:2.2.0 tekspacedemo/demo:2.2.0The above command will tag local Docker image path demo/webappcore:2.2.0 to the path that matches for remote repository path, which in my case is tekspacedemo/demo:2.2.0.
Now we will push a local image from tekspacedemo repository.
docker push tekspacedemo/demo:2.2.0NOTE: for the demo purpose, I created a remote repo name called
demo. You can use any name to define repository name.
After your image is pushed to remote container registry. Your output should look like below
PS C:\> docker push tekspacedemo/demo:2.2.0
The push refers to repository [docker.io/tekspacedemo/demo]
a034775f3ab9: Pushed
7e886042ad70: Pushed
6c8276f92903: Pushed
596811bf044f: Pushed
84ff941997ac: Pushed
673fa658bebd: Pushed
75932c99c074: Pushed
3d57d631c3a7: Pushed
63077ec902e9: Pushed
f762a63f047a: Skipped foreign layer
2.2.0: digest: sha256:161bdf178437534bda10551406944e1292b71fa40075f00a29851f6fd7d7d020 size: 2505
That’s it! You have successfully pushed your first local repo to a remote container repository. Thank you for following this tutorial. Please comment below and feel free to share your feedback.