If you are looking to automate some or all the task in Azure, you can use Azure REST API. In this tutorial, I will show you how to perform basic task such as Authenticating, Authorizing, getting access token, performing crud actions, and many more.
NOTE: You will need to have a Azure subscription and Microsoft account to perform below actions.
Before we get started, we need to first login to portal.azure.com and register application in Azure Active Directory (Azure AD). Follow below steps to get started.
Register App with Azure AD
What do I mean when I say register app with Azure AD?
In order to access Azure API, or any API’s in Microsoft products, we need to create an App. The app could be called anything. For example, if you have an application that provisions IAAS VM’s in Azure, you can register an App in Azure AD that is called Azure IAAS VM provisioning. You can create as many apps in Azure AD. The app is like a service account to access Azure API. It can have RBAC permissions and can be restricted what it can access. Now that you know what app registration means, let’s go ahead and create an App.
App Registration
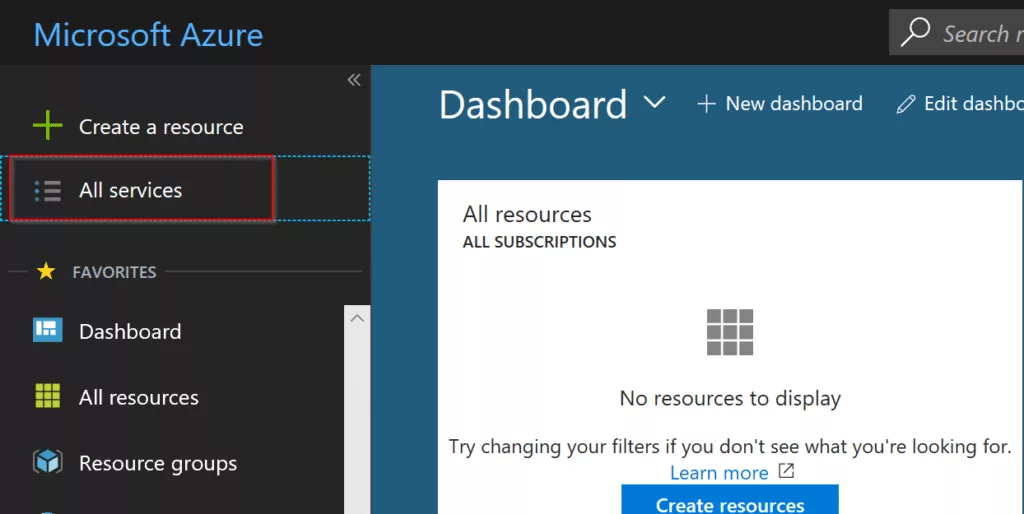
After you log in to Azure Portal, click on All services in the top left-hand side.
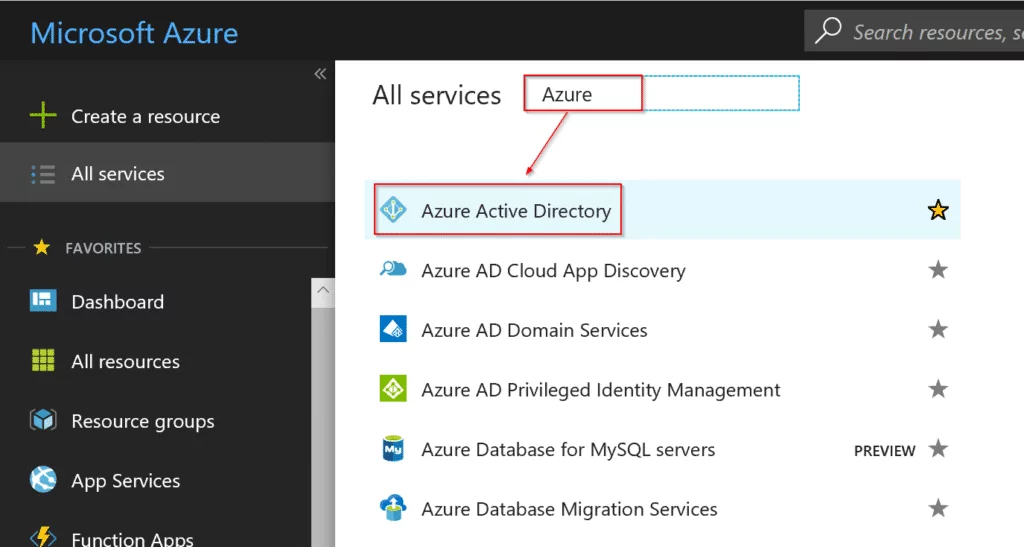
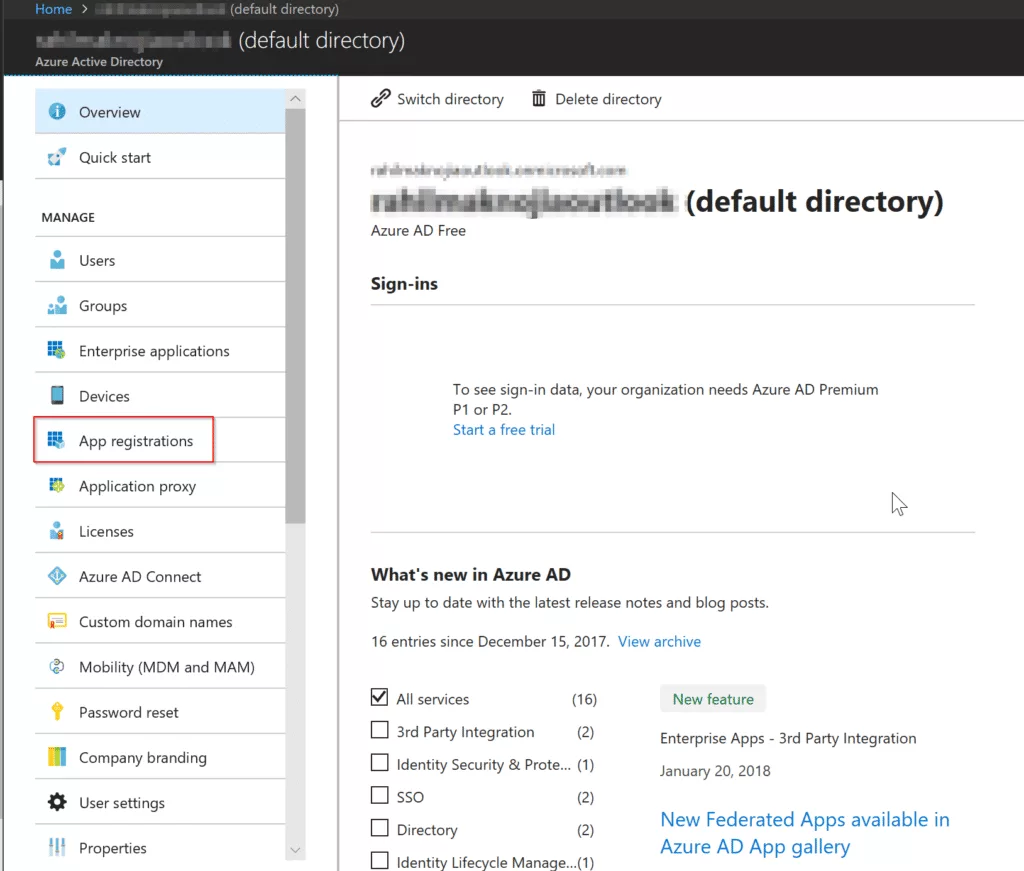
It will display another window next to the navigation panel. In all services filter, go ahead and type Azure and select Azure Active Directory.
After you click on Azure Active Directoroy, click on App registrations.
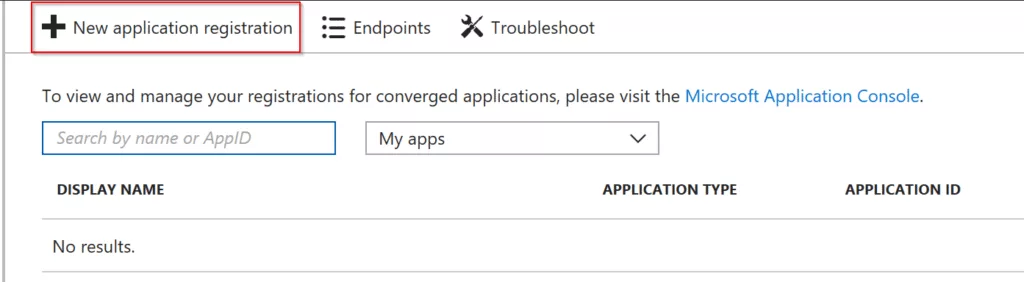
Now click on New application registration
In the Create window, fill in the below fields:
Name: {Name your application}
Application Type: {Select Web app / Api or Native}
Sign-on URL: {URL where you can sign in. This can be changed later.}
Now, you might be thinking what option to select in Application Type? This depends on whether your application that will access is a web app or some script that will access Azure API. If you like your users to log in to access Azure resources via the web, you can use Web app / API. For the purpose of this tutorial let’s select web app / api to register app.
After you have defined all the values, click on Create.
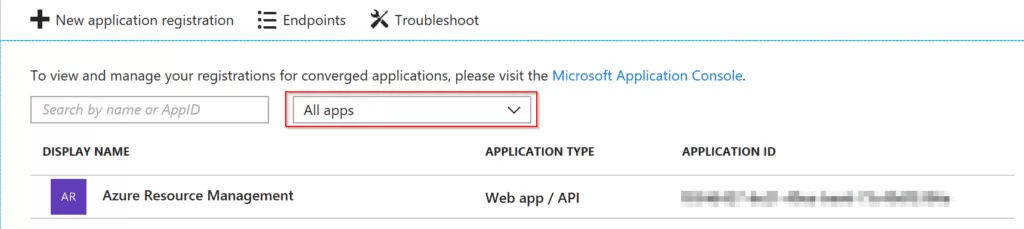
Once it has been successfully created, in the App registration window, change the second drop down from my apps to all apps.
Generating Client Secret
After you have successfully created an App. Let’s generate client secret that will be used later to call REST methods.
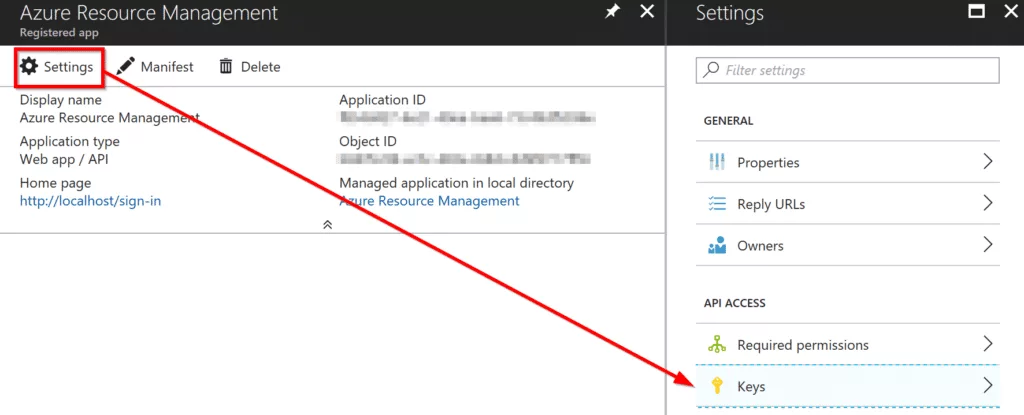
In New application registration window, after selecting all apps, click on Azure Resource Management. It will take you to new window. In there click on Settings that is on the top and then click on Keys.
In Passwords, fill in the required information. Select Expires in dropdown to define when your key will expire. For the purpose of this tutorial, I will select In 1 year. You can add any string values in Description & Value fields as long as it makes sense to you.
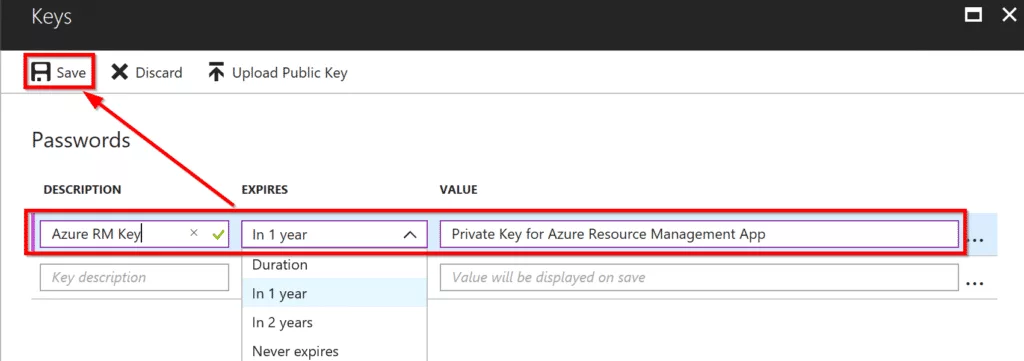
Click on Save.
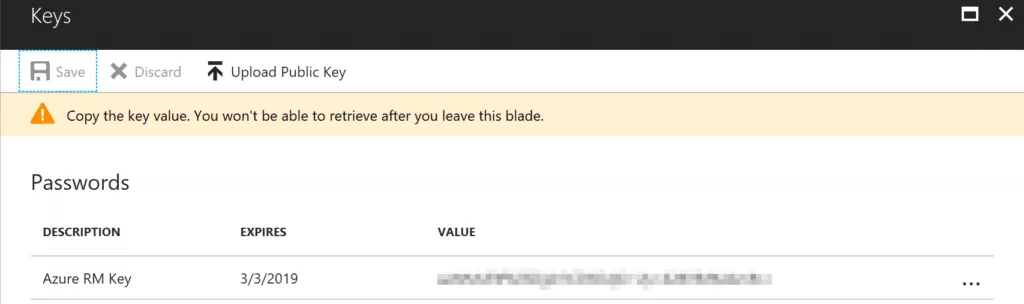
Once you have saved the key, it will show you randomly generated key in Value field. Store it somewhere securely. We will use that secret key to authenticate later.
Subscription level access to App
In order for you to access resources in Azure subscription. You need to add a recently created app to your subscription. Follow the below steps to grant contributor access to the app.
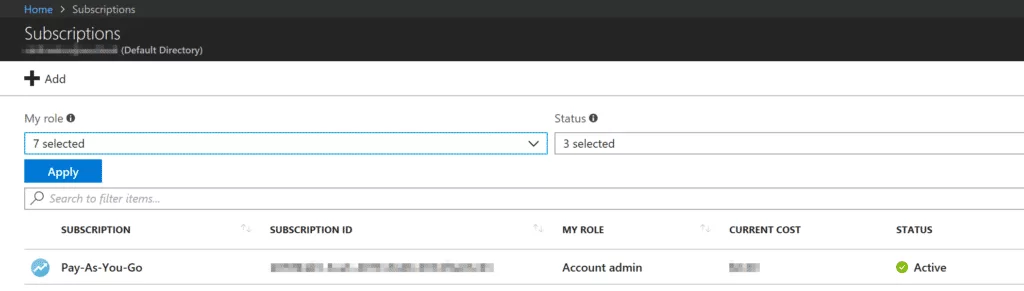
Go to All Servers -> Subscriptions.

You will be navigated to the Subscription window where you will see all the subscriptions you are part of. If you have more than one subscription, select the subscription you want to grant access to. In my case, I only have one subscription. So I will select that subscription as shown below.
Click on Access Control IAM and then click on Add.
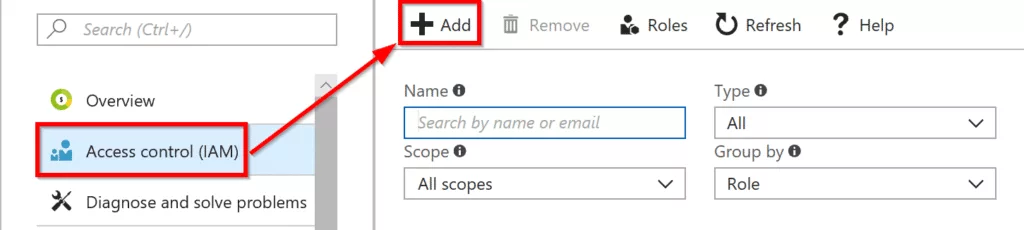
In the Add Permission window, select contributor for role. In the select input box, type the app name you created in Azure AD and select it. In my case, I created Azure Resource Management.
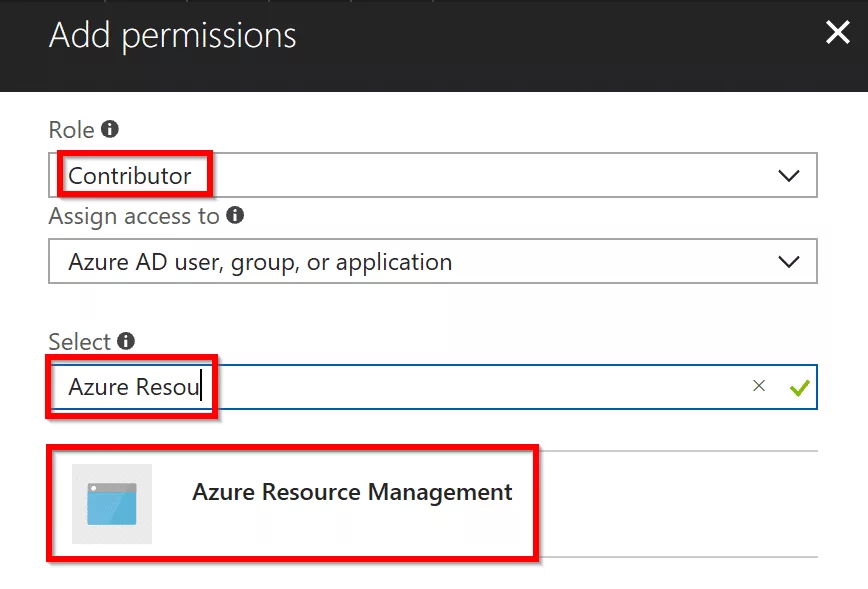
Once you have set the required fields. Click on Save at the bottom.
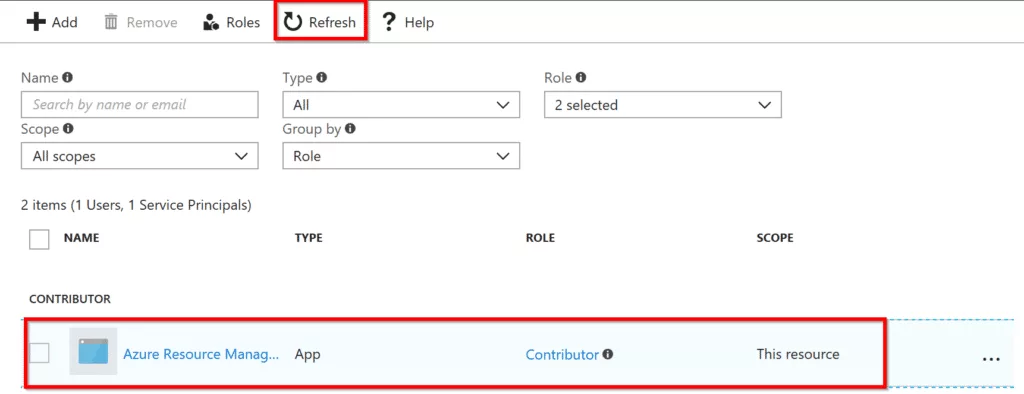
After you have given successful permission, click on Refresh in your subscription window and you will see your app showing in the list. See below example.
Accessing Azure Resources with Postman
After you have successfully registered an App in Azure AD and given appropriate permissions, let’s go ahead and request access token to access Azure resources.
Request Access Token
To request access token, we need to make a post request at this URL:
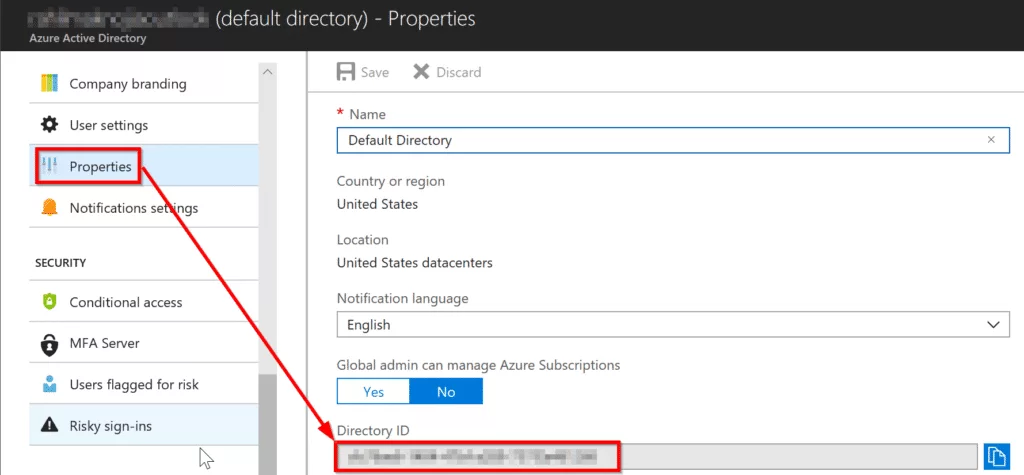
POST https://login.microsoftonline.com/{tenant_id}/oauth2/tokenYou can get the tenant id from Azure Active Directory -> Property -> Directory ID.
Below are the required parameters that needs to be sent in post request.
| Parameter | Description | |
|---|---|---|
| grant_type | Required | The value must be client_credentials. |
| client_id | Required | Here the value must be the application id. You can get the application id from Azure AD from a recently created app. |
| client_secret | Required | Use the secret key we created from the above tutorial. |
| resource | Required | The value must be https://management.core.windows.net/. |
To learn more about the above requirements. Visit the link here.
Using postman to request access token.
In Postman, change the dropdown to POST and next to it enter URL to make the POST request to. Make sure you enter tenant id. Without tenant id request will not work.
In body tab, select x-www-form-urlencoded and enter required fields grant_type, client_id, ‘client_secret’, and resource.
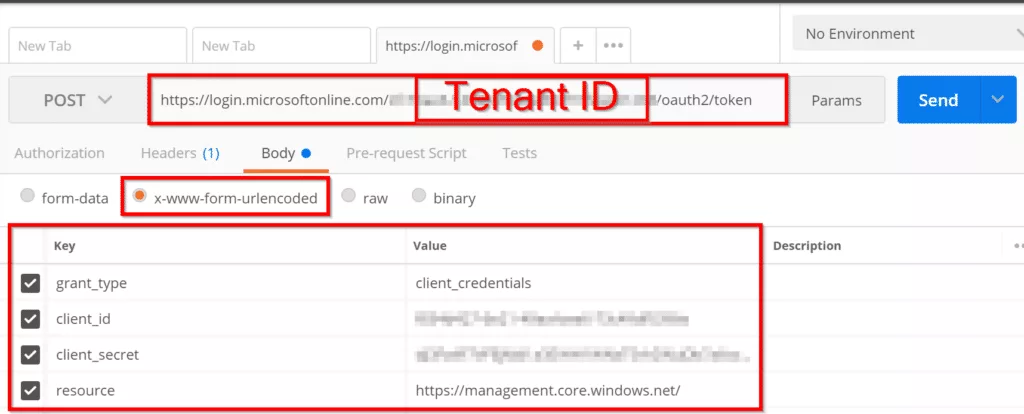
After you have filled in the required information, click on the send button, and you should see a response as shown below.
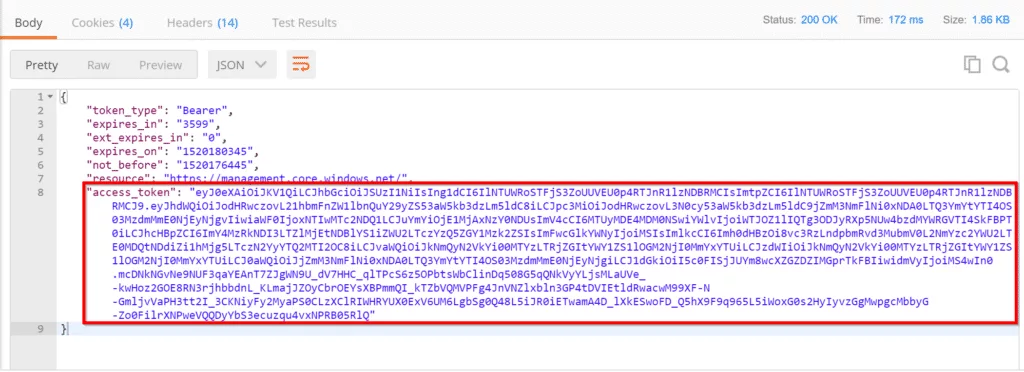
Now we will use the access token to get resource groups by using below URL.
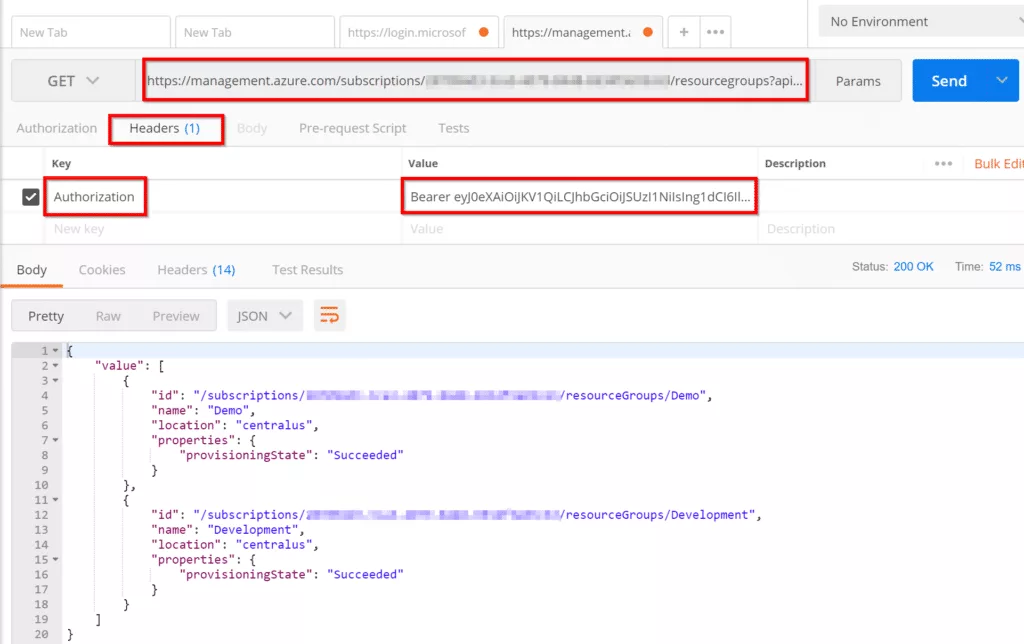
GET https://management.azure.com/subscriptions/{subscriptionId}/resourcegroups?api-version=2017-05-10Replace {subscriptionId} with your subscription id. You can get that information from All Services -> Subscriptions.
In postman, enter above URL and change the subscriptionId to your subscription ID. Then go to Headers and in Key field enter Authorization and in Value field enter Bearer {YOUR_ACCESS_TOKEN} and click send. You should receive a response with all the resource groups available in your subscription.
Links used to create this tutorial are as followed:
https://docs.microsoft.com/en-us/rest/api/#authorization-code-grant-interactive-clients
https://docs.microsoft.com/en-us/rest/api/resources/resourcegroups/list